Article: From threadle to electric // No. 24 Antheuil skirt by How to Do Fashion
From threadle to electric // No. 24 Antheuil skirt by How to Do Fashion

I remember when I first picked up sewing after a very long pause, one of the first things I made was a skirt. They are universally recommended as a good beginner project thanks to minimal fitting needs, simple construction and, as it turned out, a great reintroduction into sewing. I love wearing skirts and would choose them over trousers on most occasions. Seeing that I recently had to decommission another one of my old wardrobe staples, it is a good place to start the 2025 summer capsule wardrobe.
I chose the No 24 Antheuil skirt by How to Do Fashion. When planning the capsule wardrobe, I noticed that I have a lot of brown skirt and white button down shirt outfit combinations saved in my Pinterest. I honestly am surprised that it has taken me this long to make one. Evelyn from the film The Mummy is one of my favourite fashion icons and I have always wanted to make her library outfit.
Alongside the usual pattern review, I thought that maybe it might be interesting to read about the experience of switching from a treadle operated sewing machine to an electric one. If that is not something that interests you, feel free to scroll down for the pattern overview.
The electric sewing machine experience
I have to start by admitting that it has been a roller-coaster sewing with my new-old electric sewing machine. My reflexes are all wrong. You start and stop the treadle machine by pulling or grabbing the wheel on your right. At the same time, one of your feet presses the treadle and lets the kinetic energy swing it back before pressing down again. You don't necessarily need to rock it back and forth especially when picking up the speed. Your legs and the right arm slowly become like an extension of the machine, letting you control the precise movements of the needle.
With the electric sewing machine, you are dependent on the machine itself. Of course, it has more power and can definitely sew quicker, but with that the handling of the fabric doesn't seem as intimate. It felt like I was learning to collaborate with the machine instead of working as one.
My sewing machine also came not with a foot pedal but with a knee lever. I am used to gently starting the seam and working up the speed with the treadle. However, the new machine, which I have decided to name Skye, is a girl who doesn't like to mess around and wants to go full speed ahead half the time. It has definitely taught me that I am not ready for an industrial machine. It took me a while to realise that the machine hasn't stopped not because it is a lemon but because I tried to grab the wheel instead of letting go of the lever. As a result, the seams are a little bit wavy in places. A creative decision, of course.
The experience has made me think of the different types of seamstresses out there. There are those who like all the modern conveniences, are proud of the speed they can make a garment, and collect tips and tricks to maximise sewing machines’ capabilities. For example, using iron on interfacing, machine basting, sewing the stitch in the ditch, or using the burrito method. Those are the ones who I would guess would gravitate towards the new sewing machines - automated thread cutting and threading, back stitch, walking foot, decorative stitches.... All great features but just not used by everyone.
I am the other type of seamstress. One who likes to sew in interfacing, finishing seams by hand for the most invisible finish, sewing the zipper by hand, taking my time to fell the seams because I enjoy the process. I also love how the treadle sounds. The rhythmic sound is calming and doesn't rush me to the next thing.
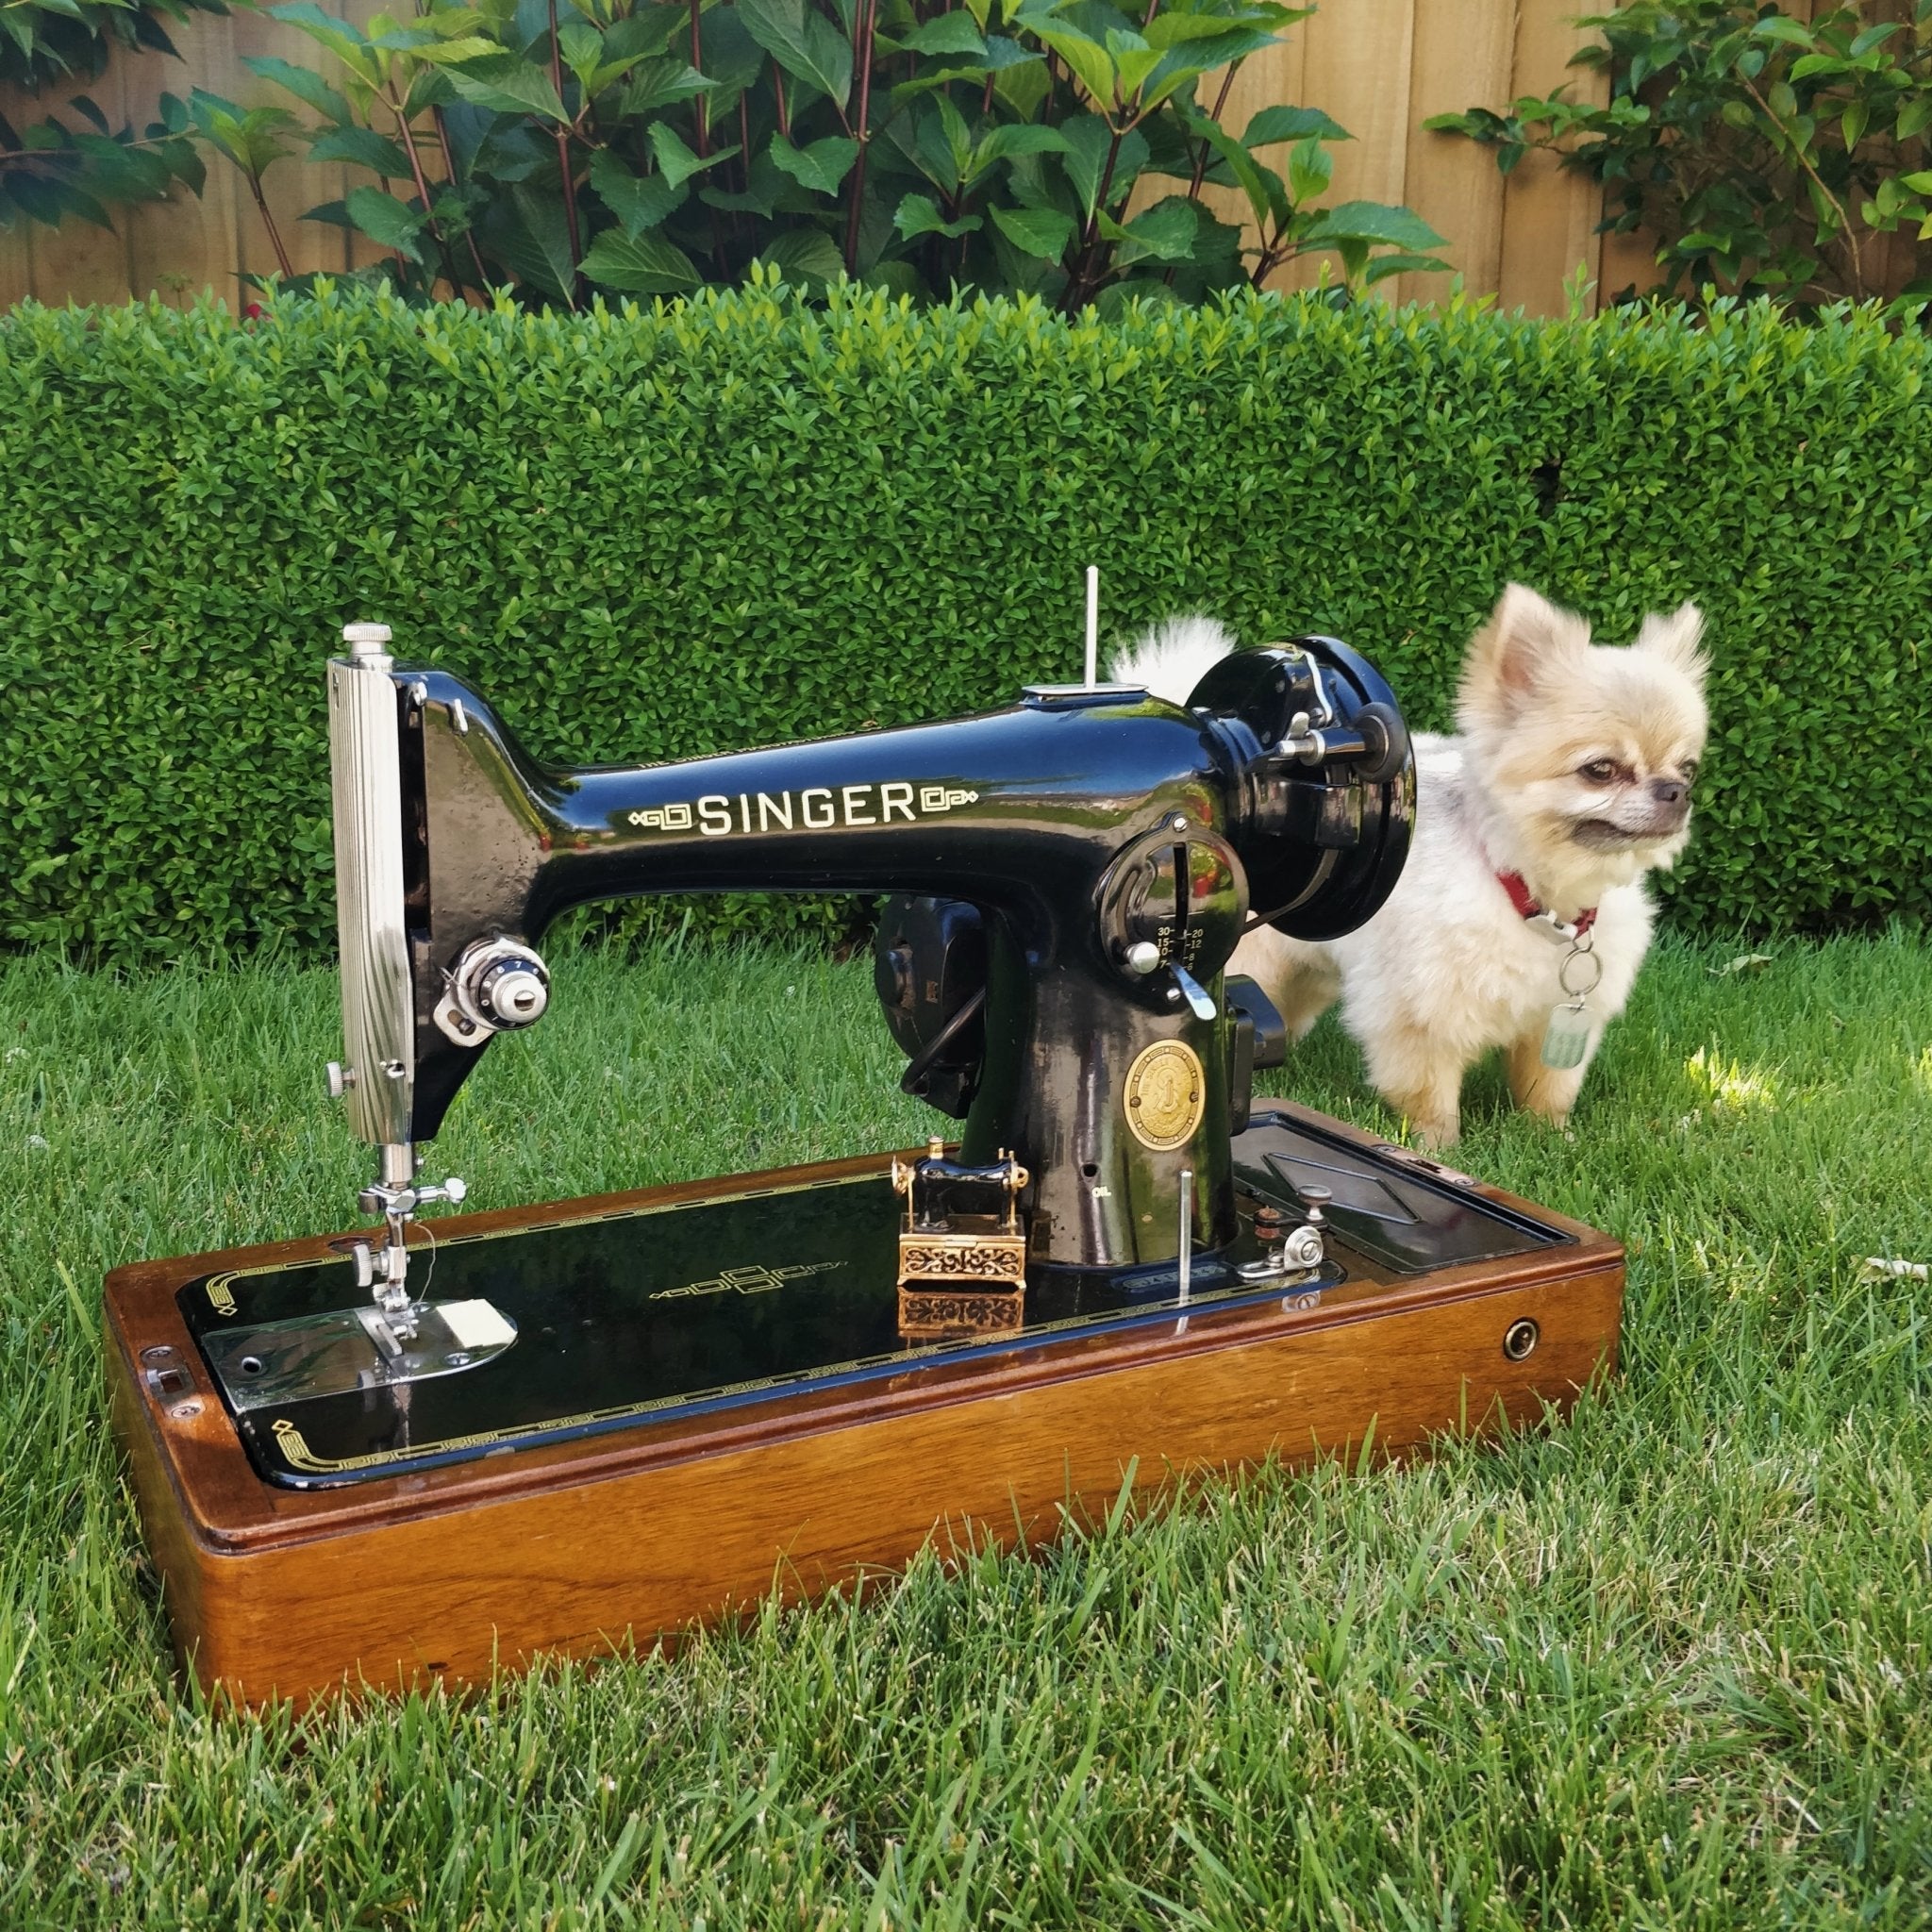
By buying the Singer 201k I have gotten the best of both worlds. I can sew in the small hours now thanks to the light, can zigzag the edges for a very unruly fabric, handle more delicate fabrics, and ditch the one thing I don't like doing by hand - buttonholes. I am glad Skye has joined Bonnie (the treadle) in the atelier, well, once I have it set up again.

The pattern review
Now that I'm done with my philosophical musings about treadle and electric sewing machines, it's probably time to talk about why you're actually here - the sewing pattern review. The funny thing is, while I chose this pattern to tick off my need for a brown vintage skirt, I instead discovered my new favourite skirt flare and length.
The Fabric
In the past, the looms to create the fabric weren't as wide as we have now, so the fabrics were a lot narrower. As a result, to create a flare in a skirt you often pieced the fabric together by adding triangle shapes at the sides. This is exactly what the Antheuil skirt has done. With the wider fabrics around, you can easily combine the two pieces and cut as one. But doing so would sacrifice not only the charming style lines but also the fabric economy. If you don't have a directional print or nap, this kind of construction can be fabric saving, letting you invest in higher quality cloth.
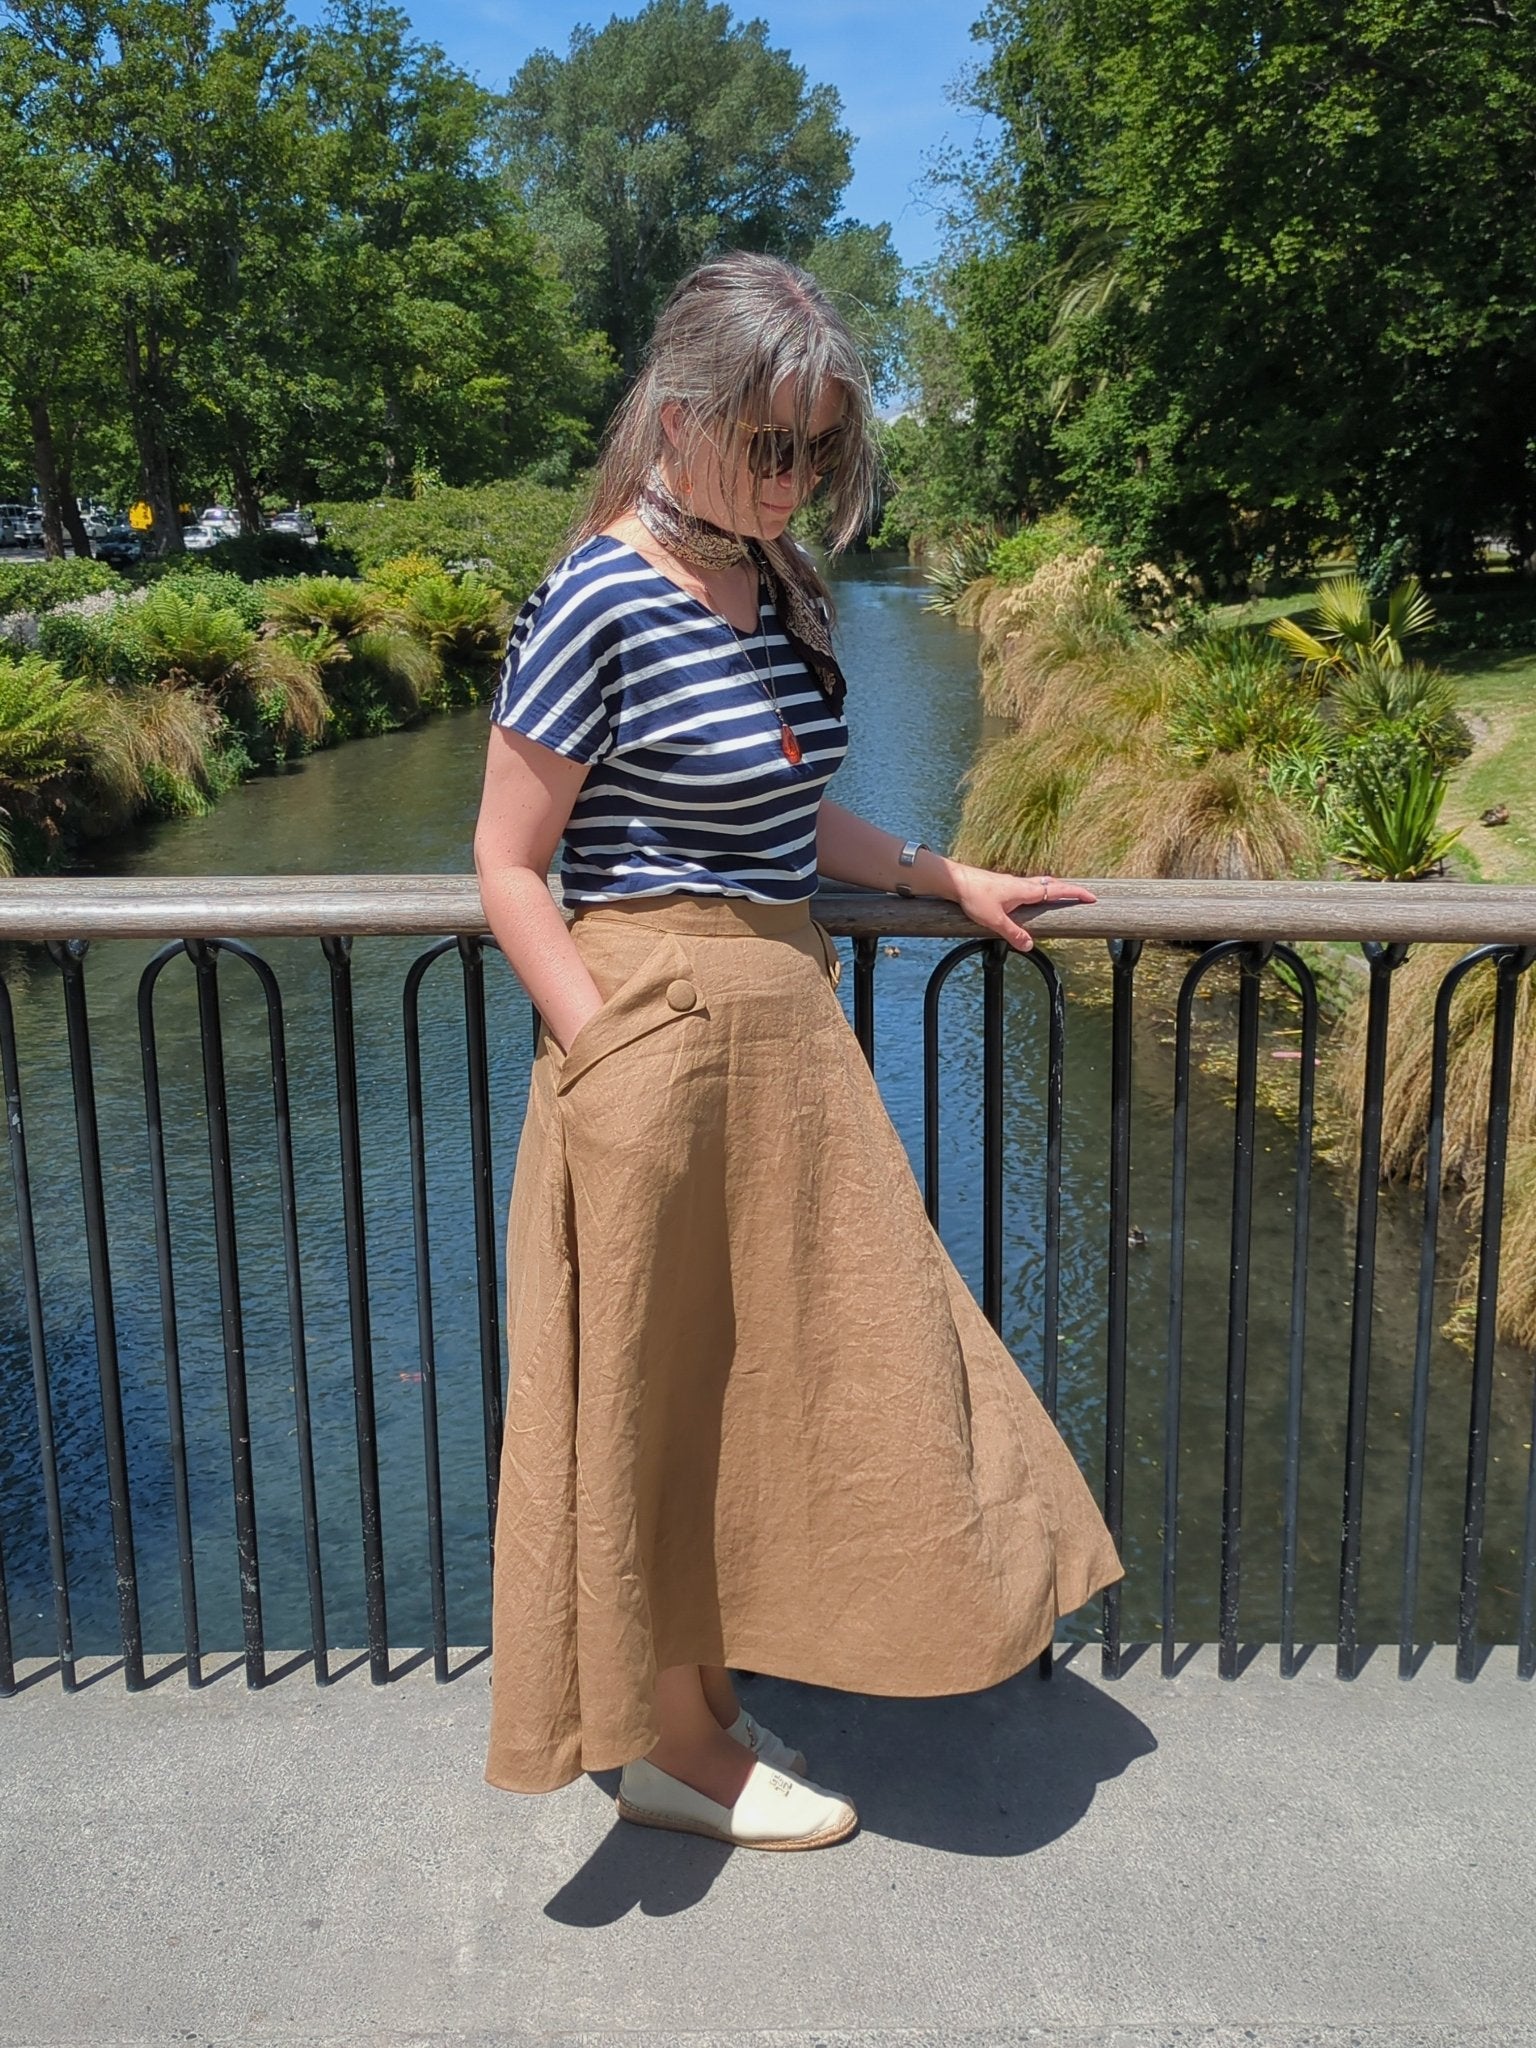
I wanted a skirt with a little drape and swoosh, so I chose a linen fabric from The Fabric Store from my stash. It complemented the pattern wonderfully. I did add a thicker bias tape to the hem which weighed down the skirt just a little bit, improving the drape even more. I prefer the hem to be on the thicker side – in this case it was 5 cm deep.

Pattern options
The pattern has 3 lengths, two pocket options, and one pocketless option. I chose the longest (which on me is tea length) version with the pocket flaps.
The seam allowances and pockets
After cutting out the paper pattern pieces, I got scared about choosing the wrong size again, so I added another 1 cm to all of the seams. I was on the upper edge of the size 38 and I wasn't quite sure if a little more room was needed. In the end, I only used an extra 5 mm at the side seams. The downside was I messed up the pocket flap positioning and it isn't as even as it otherwise would have been.
Thankfully, as with many of these things, I am the only person who notices. So instead of apologising about it - I accept that as a learning curve and make a note of what to improve next time. Slow and steady wins the race.
I ordered two new-to-me iron-on interfacing types to try, but since they didn't arrive on time, I decided to skip the diagonal strip of interfacing for the flap. The risk is that the bias edge might stretch over time, in which case I will gain another design element.
Waistband
The waistband is another place where I need to find a more consistent approach - especially when it comes to the interfacing for the waistband. I love a nice, stiff waistband and prefer to use BanRoll for it. It is a sew in interfacing, so I always attach it to the back of the waistband so that the stitching wouldn't show on the front. The problem is that sometimes I think I get distracted and end up with the waistband ending past the stitch line and into the skirt panels. I might have to start marking stitch lines on the waistband to avoid this.

Overall thoughts![]()
I love this skirt and am already thinking of making more with different variations and fabric choices. A winter version in lovely wool suiting is definitely on my list. The flare still has the swoosh when I am walking but doesn't make me feel overdressed as sometimes my circle skirts tend to do. You can take the European out of Europe but you can't take the Europe out of a European girl. The deeper hem is just what I wanted and it weighs down the fabric the perfect amount. As for the pocket flaps - definitely different enough to elevate your outfit and keep you reaching for more.
Written by Liga Zarina
Leave a comment
This site is protected by hCaptcha and the hCaptcha Privacy Policy and Terms of Service apply.