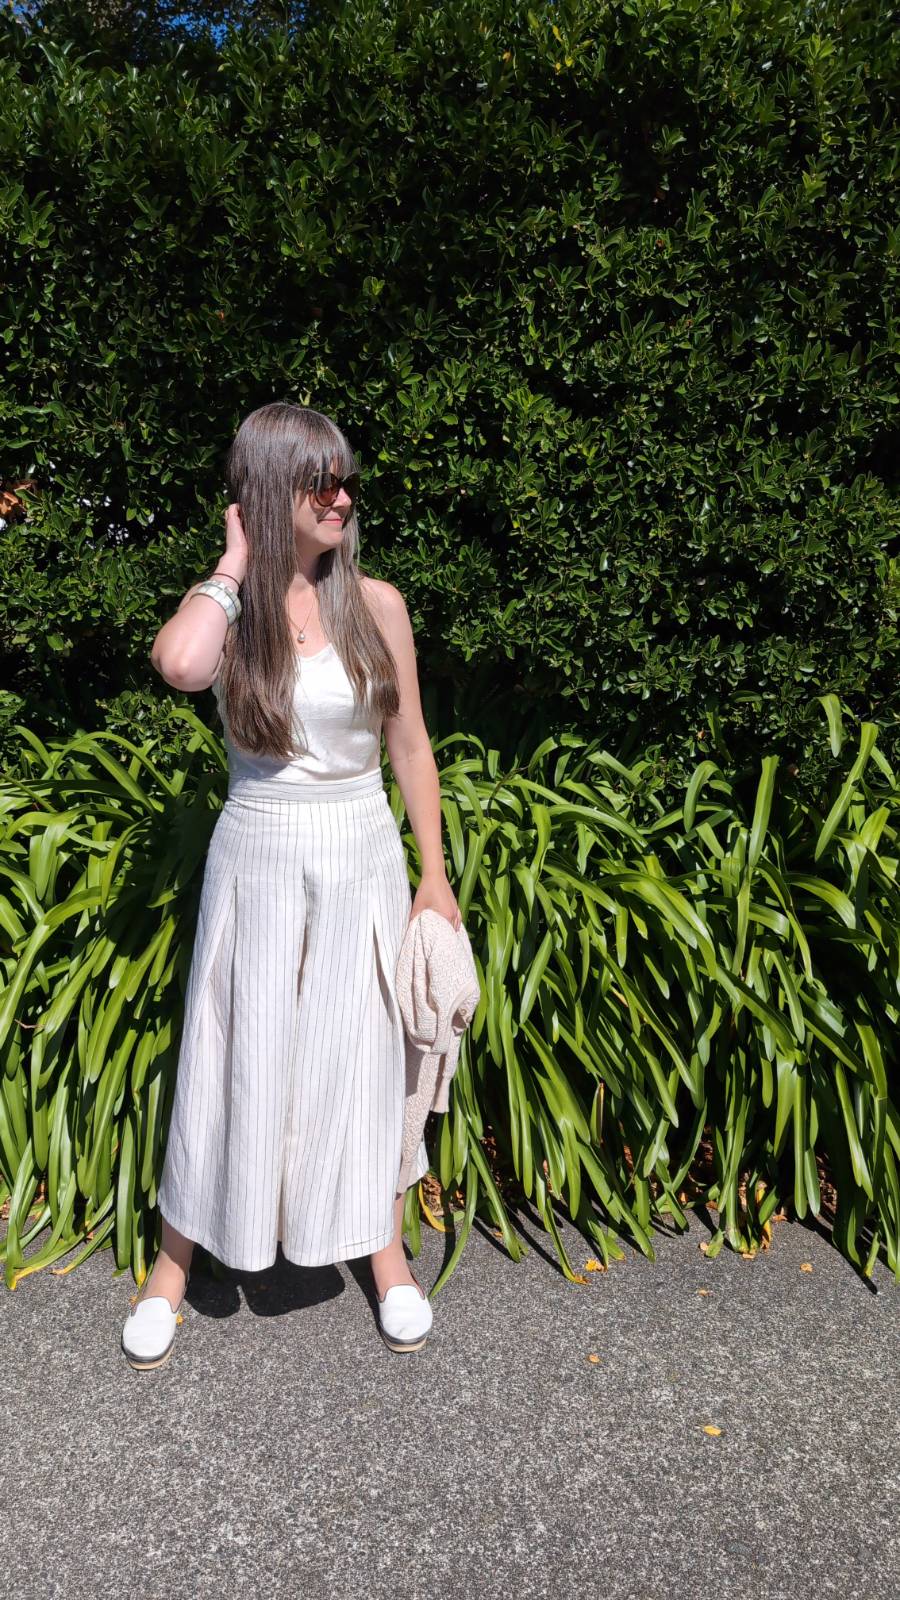
The Pleated Skirt by The Makers Atelier

In my previous post I wrote my thoughts on how to choose a sewing pattern when you are just starting out. I ended up giving 4 skirt suggestions for various styles and beginner levels. While I love all 4 options, I am not that confident to wear wrap skirts in Wellington yet (if you know, you know) and the gathered style doesn't suit my body type, I look like a inverted cupcake. A pleated skirt, however, has been dominated by Pinterest Fashion Mood board for a while and this girl needs more pleated skirts in her wardrobe.
So I decided to go with The Pleated Skirt by The Makers Atelier. What particularly drew me in were the lovely deep inverted box pleats and the fact that they were stitched down a little bit keeping the belly area nice and flat. Last but not least, I am rather partial of longer skirts.

Alterations
My weight has been fluctuating lately, partly due to a chaotic few months and partly due to my irrational diet. While I initially made a size 14 toile, I ended up taking in exactly one size worth of fabric, bringing it down to a size 12. Since some of my clothes have gone from nice and comfy to a wee bit tight, then back to slightly loose within weeks, I decided to future proof the garment by giving a bit more generous seam allowances. Firstly I decided to treat the extra fabric in the side as part of the seam allowance which ended up giving me a generous 2 cm on the side seams and secondly as a security I also added 5 mm everywhere else. Lastly, because I am a heretic, I decided to skip the pockets.
Fabric
I ended up choosing a fabric from my collection (I don't stash, I collect and curate :) ), that I hoped would work well with the pleats. It was a 100% linen from Tessuti, that I got around 2 years ago. Well, I wrote down that it is linen, but it might be a blend with silk. The fabric has a lovely sheen, has a beautiful drape and is soft yet slightly more structured.

Construction notes![]()
![]()
![]()
![]()
![]()
Like I mentioned in the alteration notes, I added extra fabric for the seam allowances. The side and back seams were finished with a hand felled seam, same with the hem. The zipper was inserted by hand - a much neater and less stressful process, if you ask me.

To finish the pleat seams, I decided to add a lining ending just past where the pleats are stitched. It was tacked down at each corner of the pleat to keep everything in place. That bit of lining also helps to make the skirt a little more opaque and helps to hide shadows of the tucked in shirts.

Lastly, I like my waistbands nice and sturdy, so I used BanRoll, securing it with three lines of stitching. The side of visible stitching the was attached facing inside. I also made it a lot longer than necessary for the size adjustability in the future.

Final thoughts
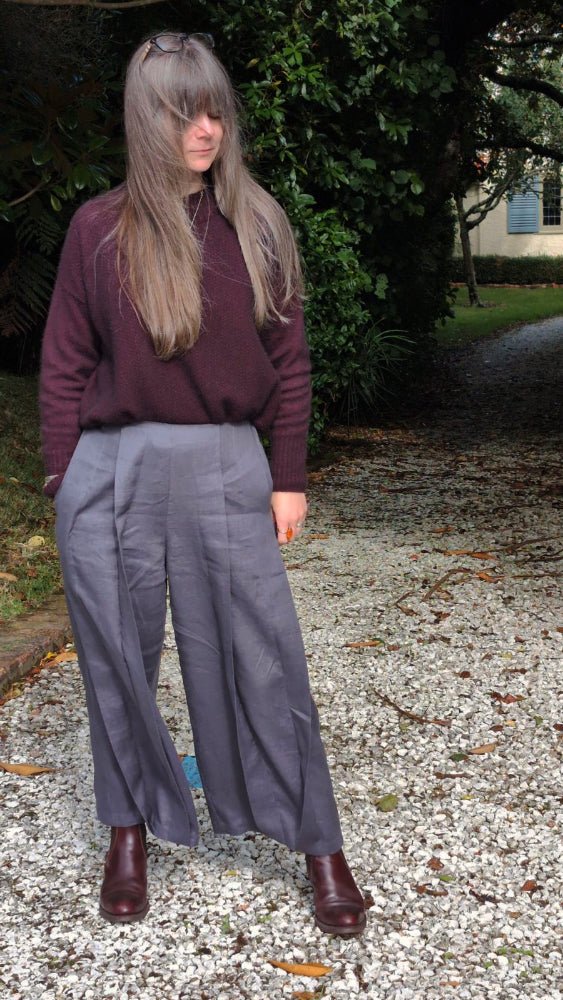
While I am very happy with the pattern and the end result, I’m not sure I chose the right fabric. Before starting, I tested it by pressing dummy pleats, and they looked great. However, over time, they became less defined and slightly softer, meaning they weren’t as crisp as I had hoped—by which point, I had already cut into the fashion fabric.
I’ve worked with linen before, both in plain and twill weaves, but this one behaved differently. When I walk, it doesn’t have the same flowy movement I’m used to in my linen skirts; instead, it has a bit more structure. I think that contrast is what’s throwing me off.
I am quite happy with the construction, apart from the zipper insertion, which is a little wobbly from the inside. In my defense I did that while I was still half asleep in the morning before going to my day job. Something to improve for next time.
Lots of love and sewing,
Liga
Written by Liga Zarina
Leave a comment
This site is protected by hCaptcha and the hCaptcha Privacy Policy and Terms of Service apply.